Managing Step In Process
Adding detailed steps to a process is of significant importance in increasing accuracy, reducing risks, enhancing efficiency, providing clear instructions, ensuring consistency and quality, and facilitating training and knowledge transfer.
Adding Steps
To build steps within a process, follow these steps:
Step 1: Create a Core Process (e.g., Sales Process, Marketing Process, etc.)
[Refer here for more information]
Step 2: Once the core process has been created, proceed with the steps to create a process. On the user interface, select the "Process" feature and start creating.
[Refer here for more information]
Step 3: After completing the process creation, proceed with adding steps to the process. These steps will describe in detail how to execute the process.
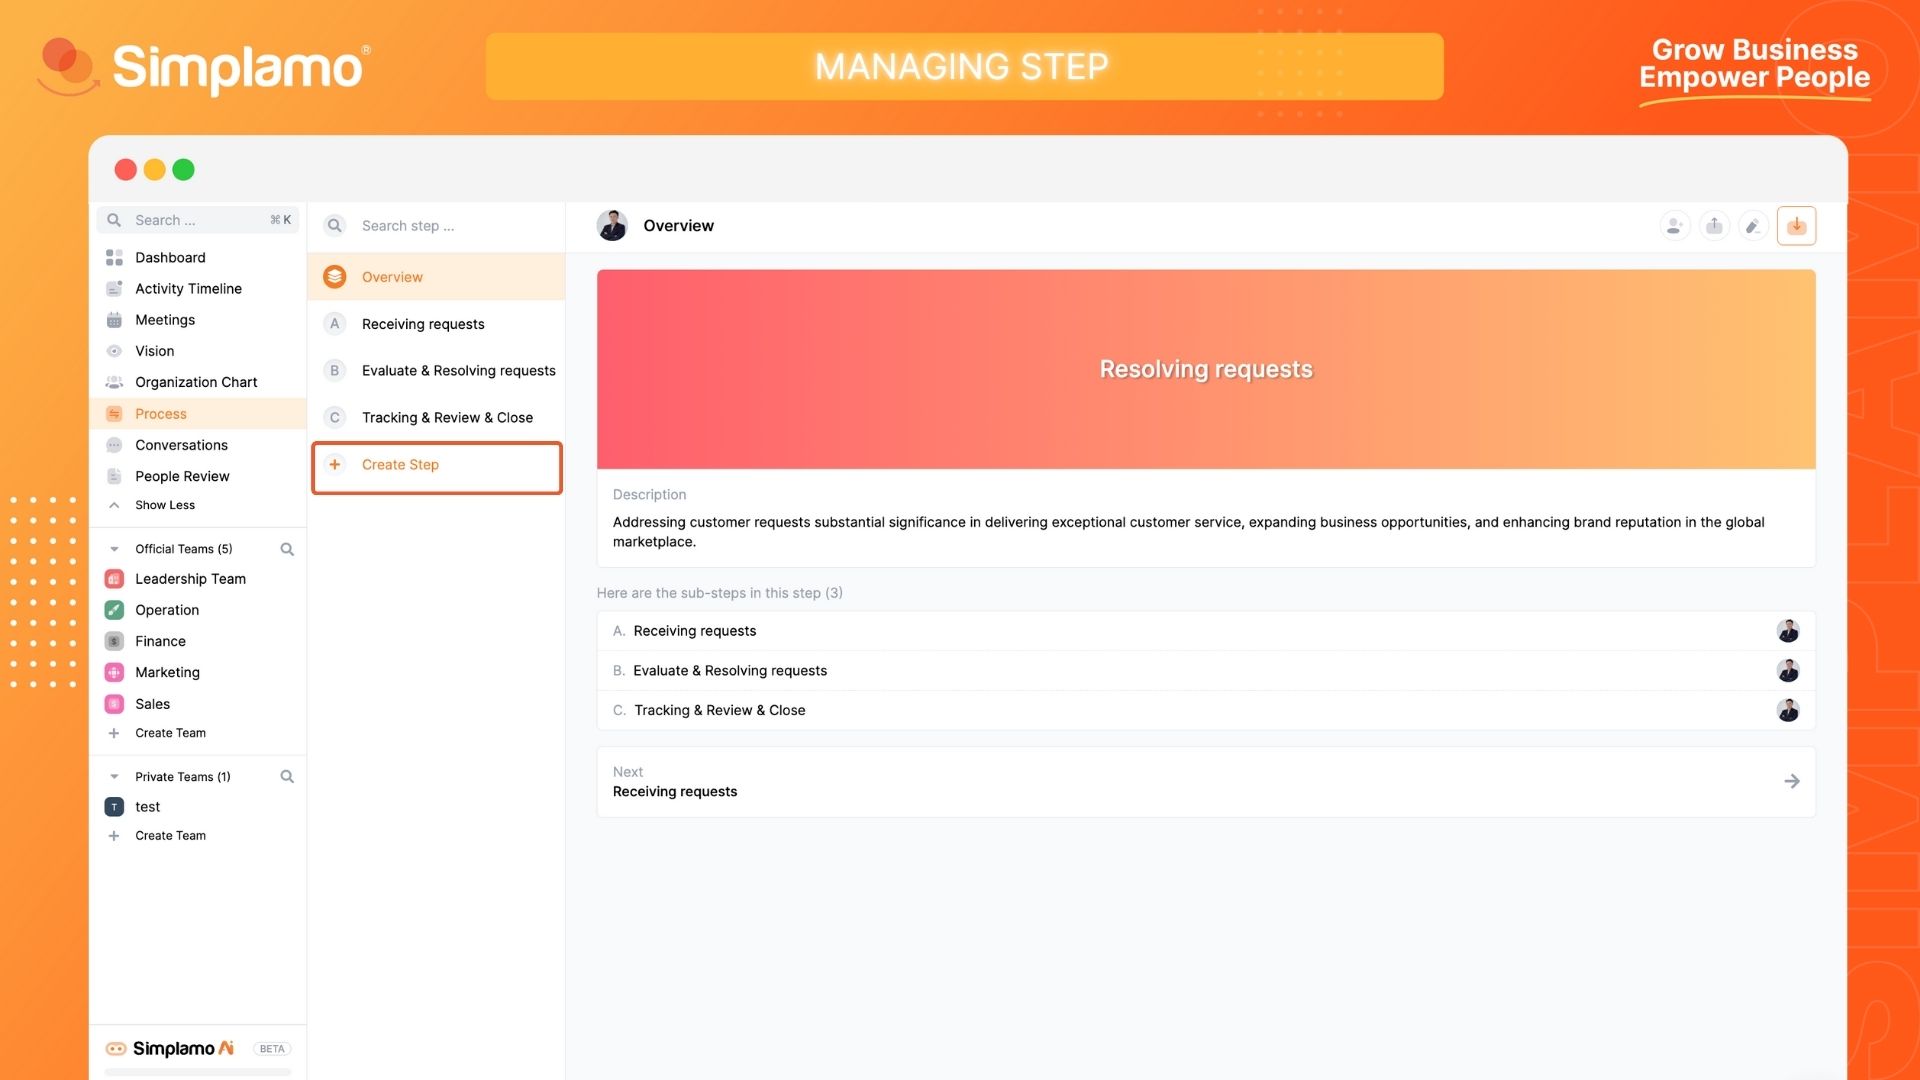
Note: Provide detailed descriptions for each added step to ensure that when the process is implemented, everyone in the organization can understand how to adhere to the process.
Steps
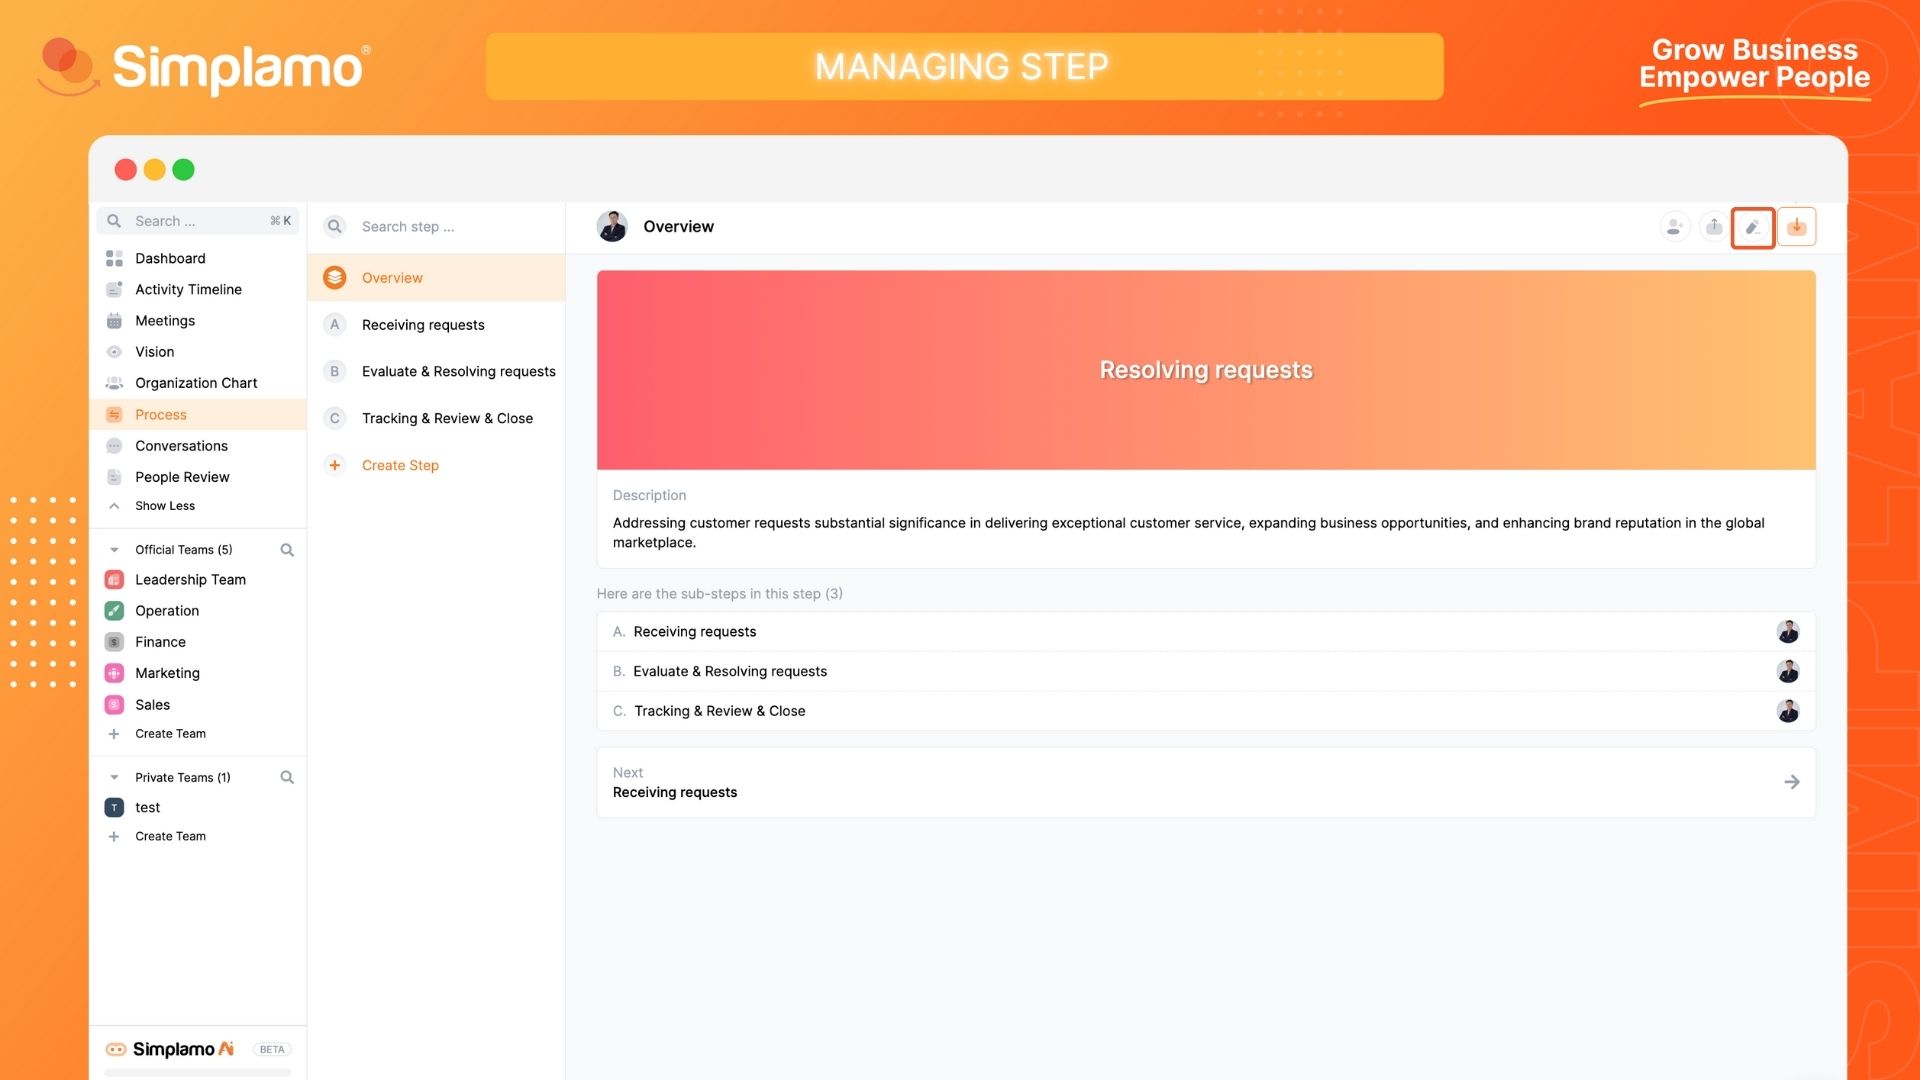
After completing the setup of the process, including all the necessary steps, you can adjust the of the steps to make them more suitable by following these steps:
Step 1: Select the process in which you want to the steps.
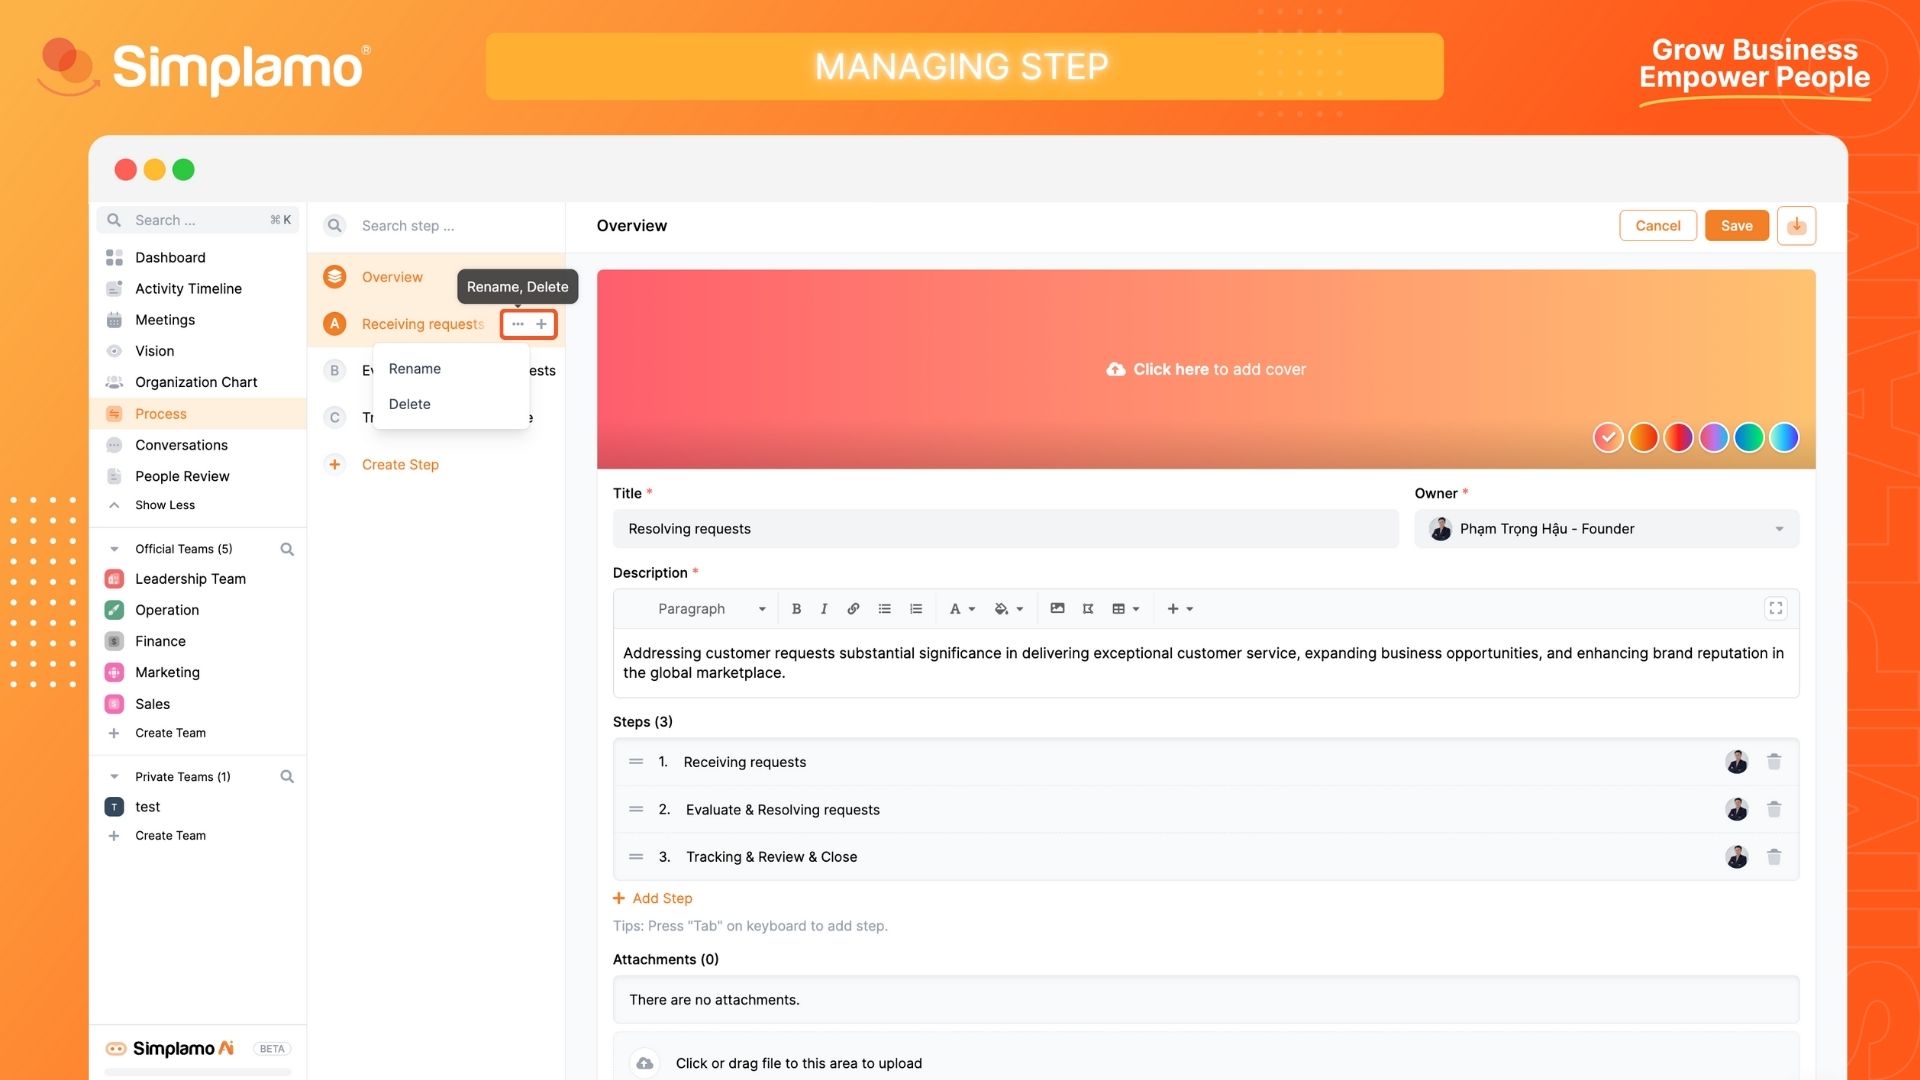
Step 2: Hover over the step you want to and click on the "Three Dots" icon to perform the operation.
Step 3: Update the step and complete the editing process.

Deleting Steps
After using a created process for some time, you may feel the need to modify or refresh the steps within the process. To delete and make adjustments, follow these steps:
Step 1: Select the process in which you want to modify the steps.
Step 2: Hover over the specific step you want to delete and click on the "Three Dots" icon to perform the operation.
Step 3: Complete the deletion of the step and update the new steps accordingly.
